Logging in
Open the admin portal URL and sign in with your account. If you don't have one yet, ask your organization's admin to invite you.
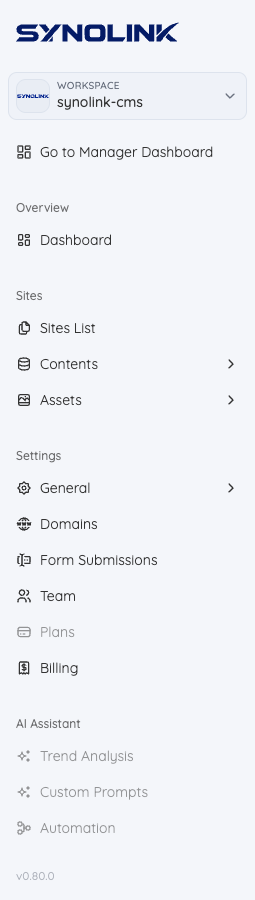
Choosing a workspace
Once you're inside a workspace, its name is shown at the very top of the left sidebar.
- Click the name to open the Switch workspace menu and move to another organization.
- All sites, content, and settings shown are scoped to the currently selected workspace.
The dashboard (Overview)
When you open a workspace, Overview → Dashboard opens first. It gives you an at-a-glance view of your organization:
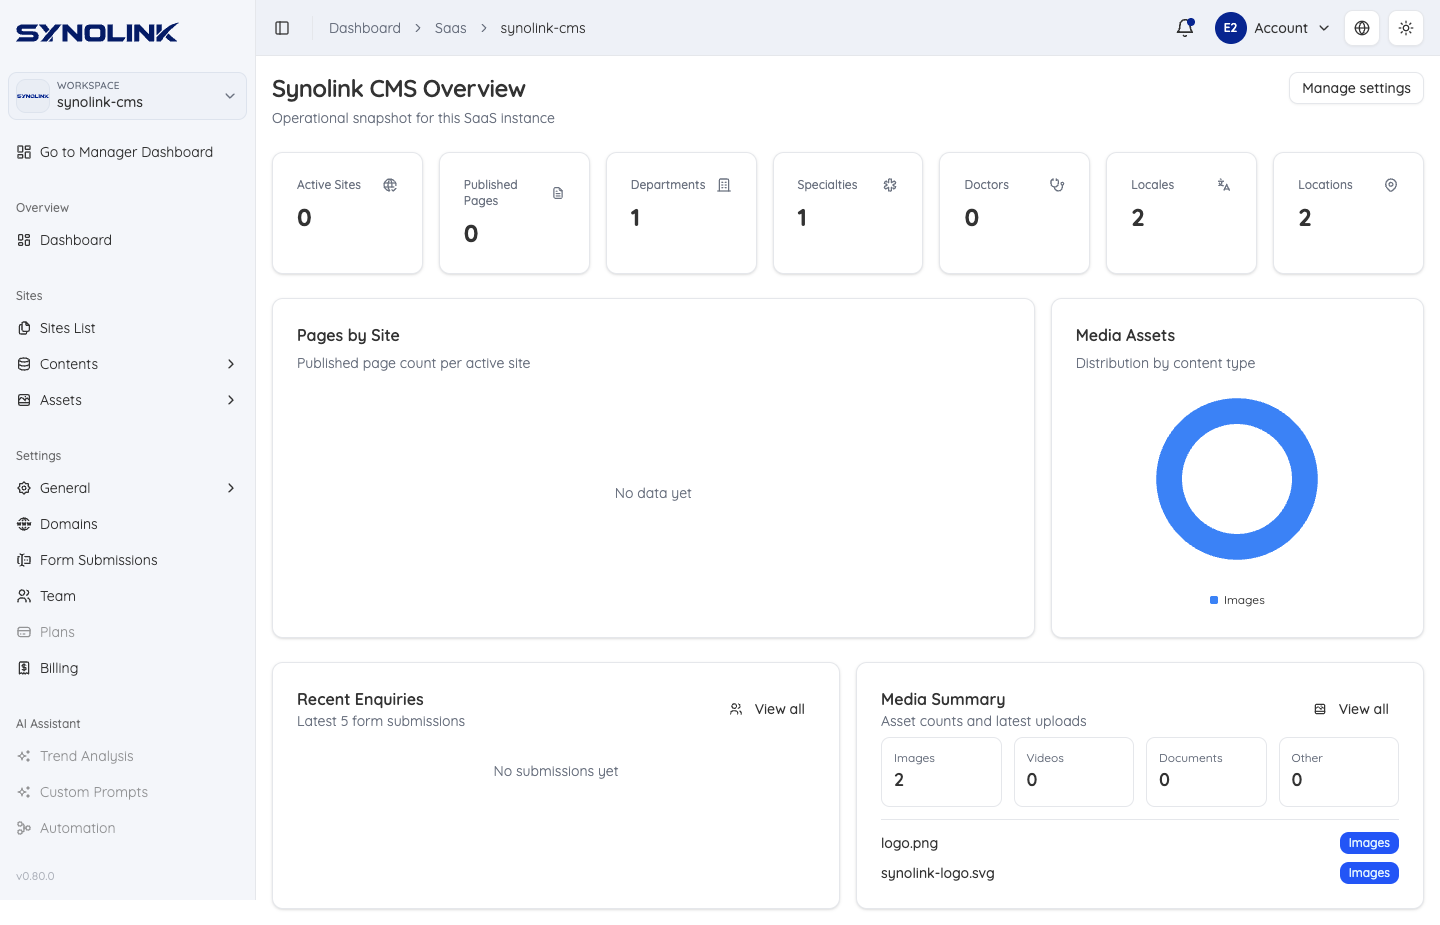
- Top cards — counts of Active Sites, Published Pages, Departments, Specialties, Doctors, Locales, and Locations
- Pages by Site and Media Assets charts
- Recent Enquiries (latest 5 form submissions) and Media Summary (counts by type and latest uploads)
- The Manage settings button (top right) jumps to organization settings
The left-hand menu
The left sidebar is organized into these groups:
| Group | Item | What it does |
|---|---|---|
| Overview | Dashboard | Status summary |
| Sites | Sites List | Create and edit sites |
| Contents → Copyrights · Specialties · Departments · Articles · Doctors | Manage articles, doctors, and other content | |
| Assets → Images · Videos · Documents | Manage media | |
| Settings | General → General · Aliases · Departments · Specialties · Locations · Details · Design System | Organization basics & branding |
| Domains | Connect domains | |
| Form Submissions | Review enquiries | |
| Team | Invite teammates & manage roles | |
| Billing | Subscription & payment (Plans rolling out) | |
| AI Assistant | Trend Analysis · Custom Prompts · Automation | (disabled, rolling out) |
The exact menu may differ depending on your permissions and subscription (e.g. Team and Billing appear only with the right permission).
Next steps
If your organization info is empty, we recommend filling in departments, locations, and languages first under Settings → Organization Settings. To jump straight in, go to Building Sites → Creating a Site.