A detailed look at three powerful editor panels — Data (CMS) · AI Prompt · Translation (I18n). For the overall layout see Editor Screen Tour, and for basic editing see Using the Page Editor first.
All three panels work on a selected element — click an element on the canvas first. (The translation panel also lists all page text without a selection.)
Data binding (CMS)
Frequently-changing information such as doctors, departments, or articles should be bound to data rather than typed in by hand. Once bound, the page updates automatically when the source changes. Configure this in the left CMS panel.
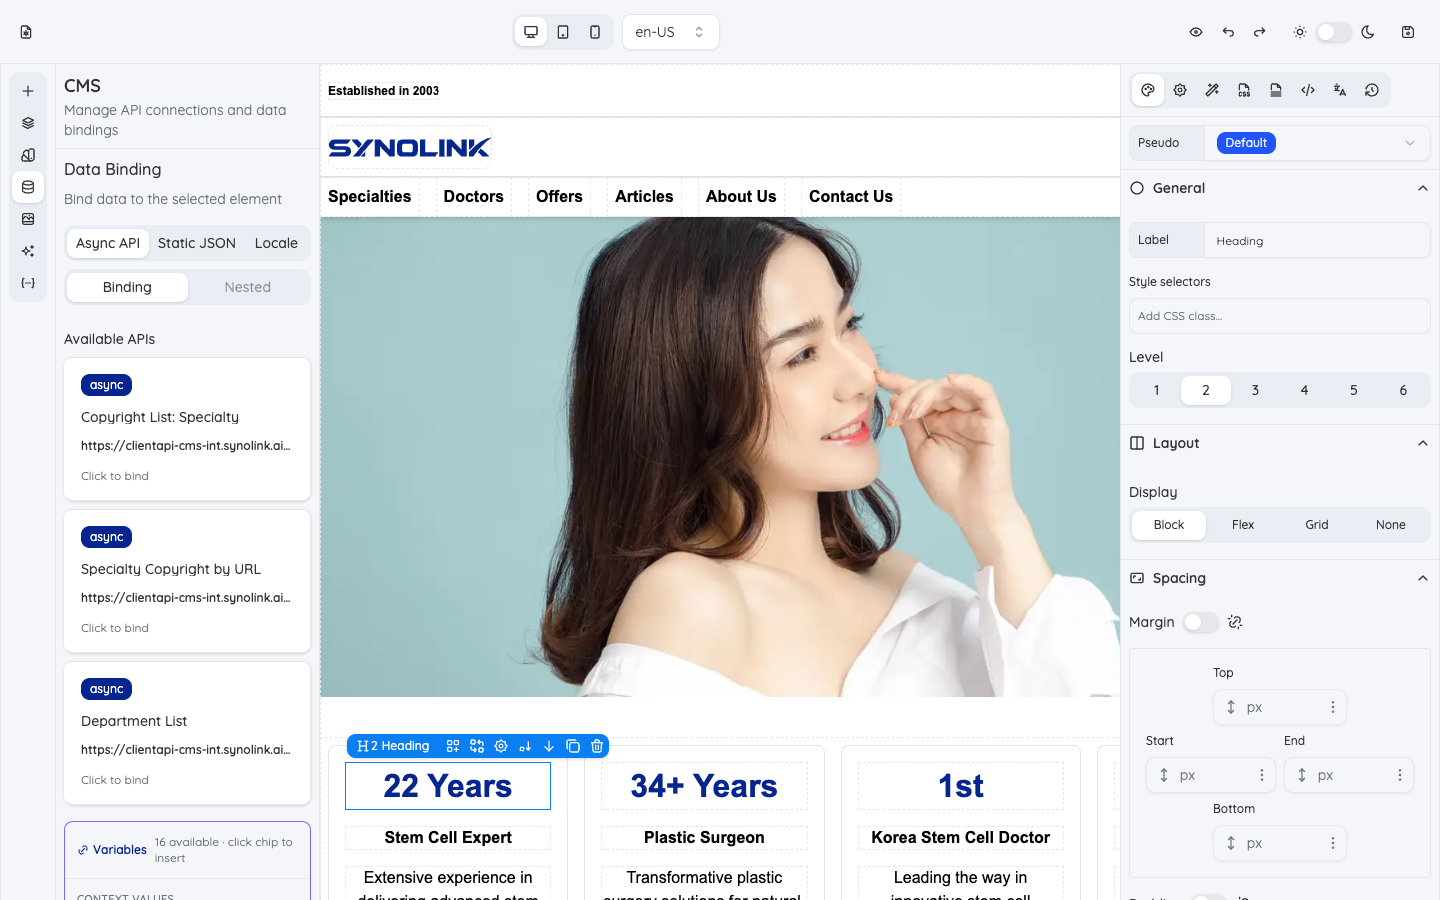
With an element selected, pick one of three data source types:
| Type | When to use |
|---|---|
| Async API | Load a list live from an external API (doctors, articles, etc.) |
| Static JSON | Paste a fixed set of data directly as JSON |
| Locale | Use the site's list of supported languages as data (e.g. a language menu) |
Async API
- Available APIs — Pre-registered APIs appear as cards. Click a card to bind instantly; hover to preview its URL, query params, and data path. The bound card shows an Active badge.
- API URL Template — You can also type a URL. Insert
{{variable}}handlebars to substitute values from the page's Path Variables or Context Values (org info, etc.). Click a variable chip to insert it at the cursor; the Parsed API URL Preview below shows the real request URL. - Data Path (optional) — Where the list (array) lives in the response, e.g.
data.items. Run Preview to fetch the response and reveal available fields; click a field to fill the path. - Click Bind API to connect. When bound, the Currently bound box appears at the top — use Clear to unbind.
- Prefetch on server — When on, the list is fetched during server-side rendering (SSR). Better for SEO and removes first-paint flicker, at the cost of added server response time.
Static JSON
Paste a JSON array or object into the code editor. If valid, the item count and available fields are shown. Click Bind JSON Data. Handy for small, fixed data without an external API.
Locale
Bind the site's list of languages as data. Check the locales to expose and click Bind Locales. Inside the bound element you can use {{locale}} / {{code}} handlebars to render each language — useful for a language switcher.
Nested binding
Use this when a list contains another list (e.g. an array of doctors per department). The Nested tab activates only when you select an element inside a parent that already has a collection bound. Choose the Field Path to the array within the parent's data (e.g. items, doctors); a preview confirms the nested data before you bind.
AI Prompt
Generate or modify the selected element with natural language. Open the left AI Prompt panel.
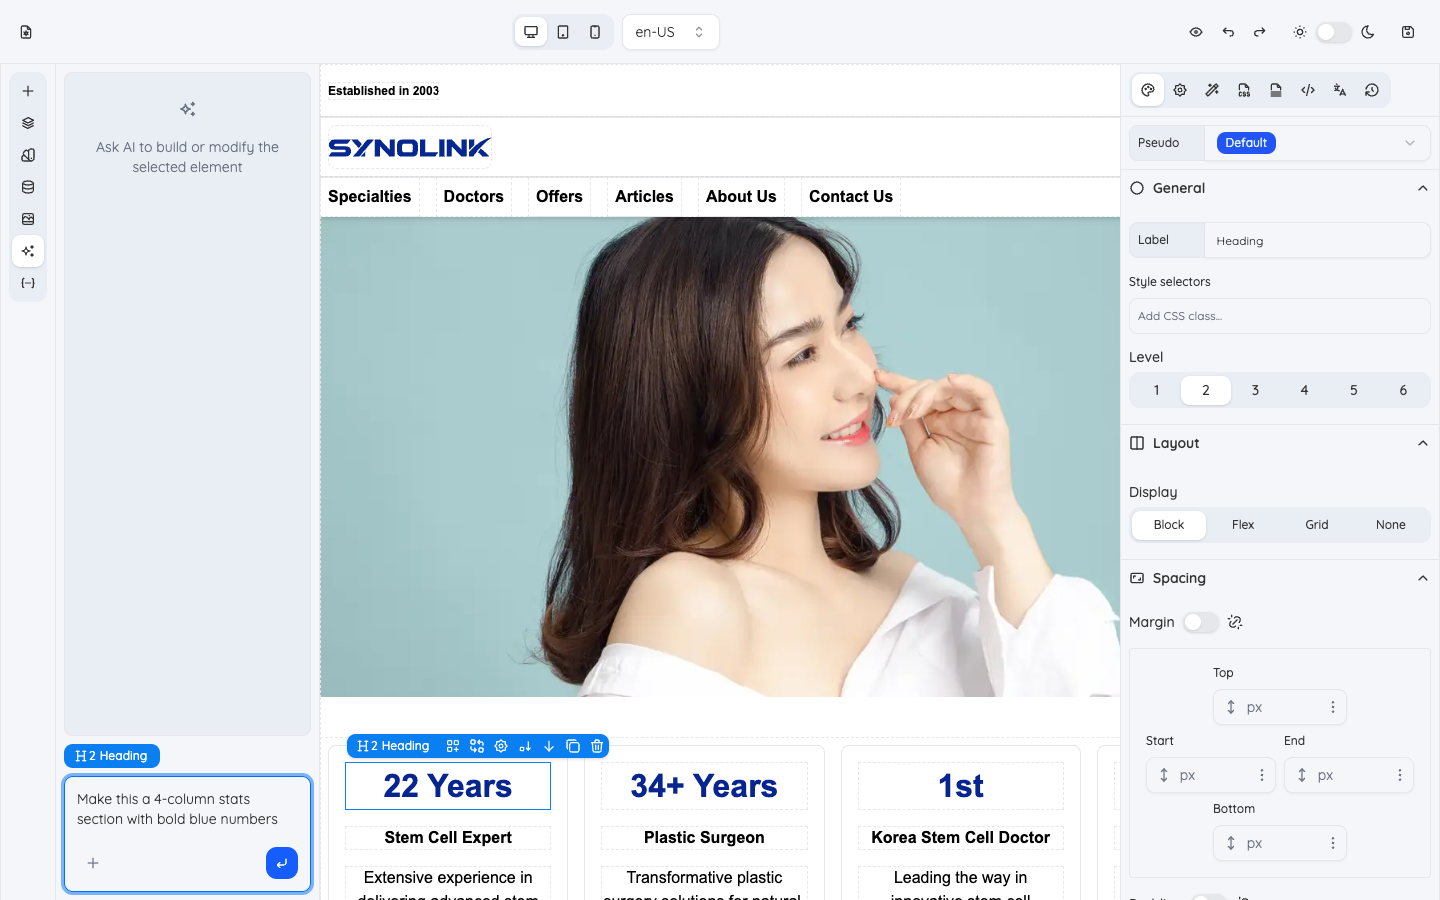
- Select the element you want to change on the canvas. The badge above the input shows the target element.
- Describe what you want, e.g. "Make this a 4-column stats section with bold blue numbers."
- Optionally attach up to 3 images for design reference.
- On submit, the AI builds a result and applies it directly to the selected element. Applied messages are marked Applied.
- You can Stop (■) a running generation, and past requests stay in the conversation history. Click a result in the history to preview it again.
The AI sees not just the selected element but the page structure, assets, context values, and your design variables (brand colors, etc.) — so instructions like "use the brand color" follow your existing design system.
Translation (I18n)
Manage every text on the page per language and run AI translation. Open the right I18n panel.
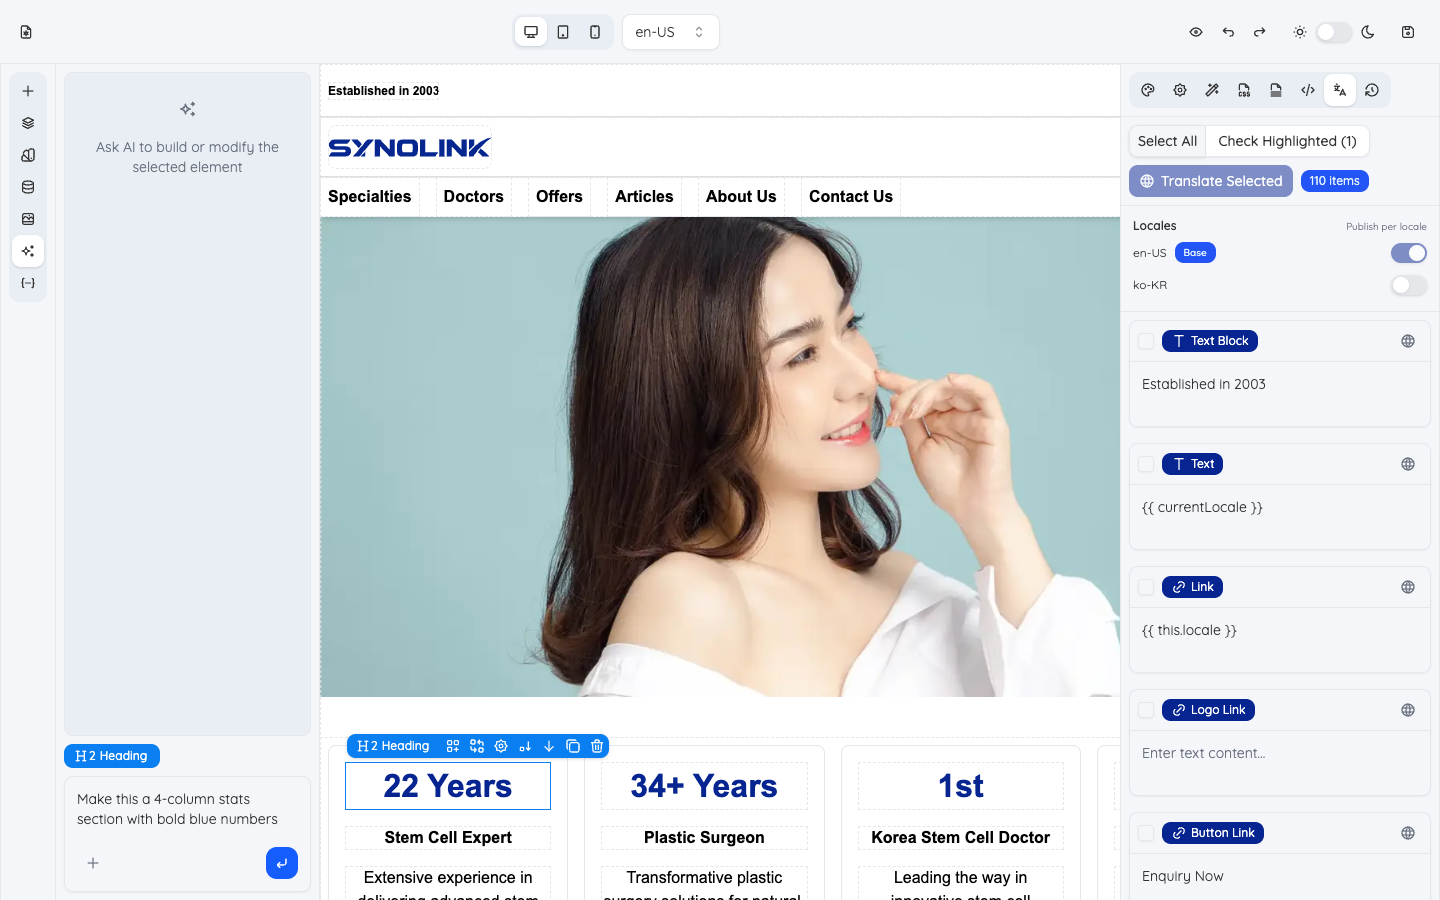
- Translatable items list — Every translatable text on the page is listed. Each box shows the content in the current editing language; edit it here to save the value for that language. (Switch the editing language in the top toolbar.)
- Translate one item — Use a row's globe (🌐) button to translate just that item into a chosen locale.
- Translate many at once — Check items, then Translate Selected → target locale translates all checked items from the current language in one go. Select All and Check Highlighted (n) (check only the elements selected on the canvas) are also available.
- Publish per locale (Locales) — Toggle whether each language is published. The base locale (Base) is always published and can't be turned off. Keep partly-translated languages off until they're ready, then switch them on.
Translate buttons require a translation API to be configured. You can still manage per-language content by typing it in directly.
In short
- Bind lists to their source with Data (CMS) → 2. quickly build/refine layout with AI Prompt → 3. fill and translate per language with Translation (I18n) → 4. check in preview, then save and publish.